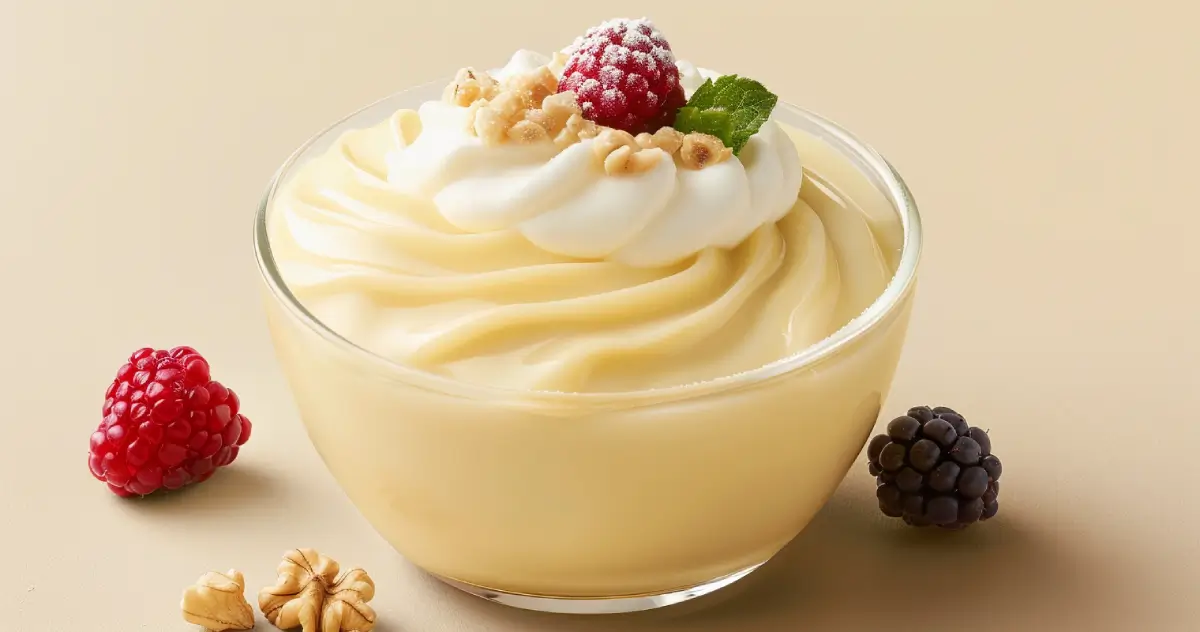
There’s something warm and comforting about Homemade Vanilla Pudding. It’s that dessert that reminds you of sitting at grandma’s kitchen table, waiting for her to finish stirring. This pudding is creamy, lightly sweetened, and packed with rich vanilla flavor, making it perfect as a simple snack, dessert, or even the base layer in desserts like trifles. Plus, it’s made from ingredients you probably already have in your kitchen. Whether you’re a seasoned pro or new to making homemade desserts, this recipe will make you feel like a kitchen rockstar!
Table of content
- About The Recipe
- Why You’ll Love This Recipe
- Key Ingredients and Substitutions
- How to Make the Recipe(Step-by-Step)
- Expert Tips for Success
- Variations and Customizations
- Nutritional Information
- Storage and Reheating Instructions
- Recipe Card
- Frequently Asked Questions (FAQs)
- Comments & Reviews
- Social Sharing Options
About The Homemade Vanilla Pudding Recipe
Let me guess—you’re here because you’re craving something sweet and creamy but don’t want to run out to the store (or spend money on pre-packaged pudding cups). That’s exactly why this Homemade Vanilla Pudding is here to save the day! This pudding is one of those old-school desserts that never goes out of style. It’s like a little time machine to simpler times—remember family dinners where dessert was the highlight? Or those moments when you’d sneak a spoonful straight from the pot before the pudding set?What makes this recipe a winner is how incredibly easy it is. Plus, you know exactly what’s going into it (no weird additives or unpronounceable ingredients like the stuff from a box). And the taste? Oh, it’s on a whole new level—rich vanilla flavor meets a silky-smooth texture that you just can’t beat. Grab a movie, a cozy blanket, and a bowl of this pudding, and it’s like instant happiness in dessert form. Got picky eaters in the house? Trust me, even they’ll be back for seconds. It’s timeless comfort food and a hit across all generations.Why You’ll Love This Recipe
- Made with pantry-friendly ingredients
- Rich and creamy texture
- Perfect balance of sweetness and vanilla
- Quick and simple steps for beginners
- Versatile dessert – great alone or as a layer in fancier treats
- Kid-approved and nostalgia-inducing
Key Ingredients and Substitutions
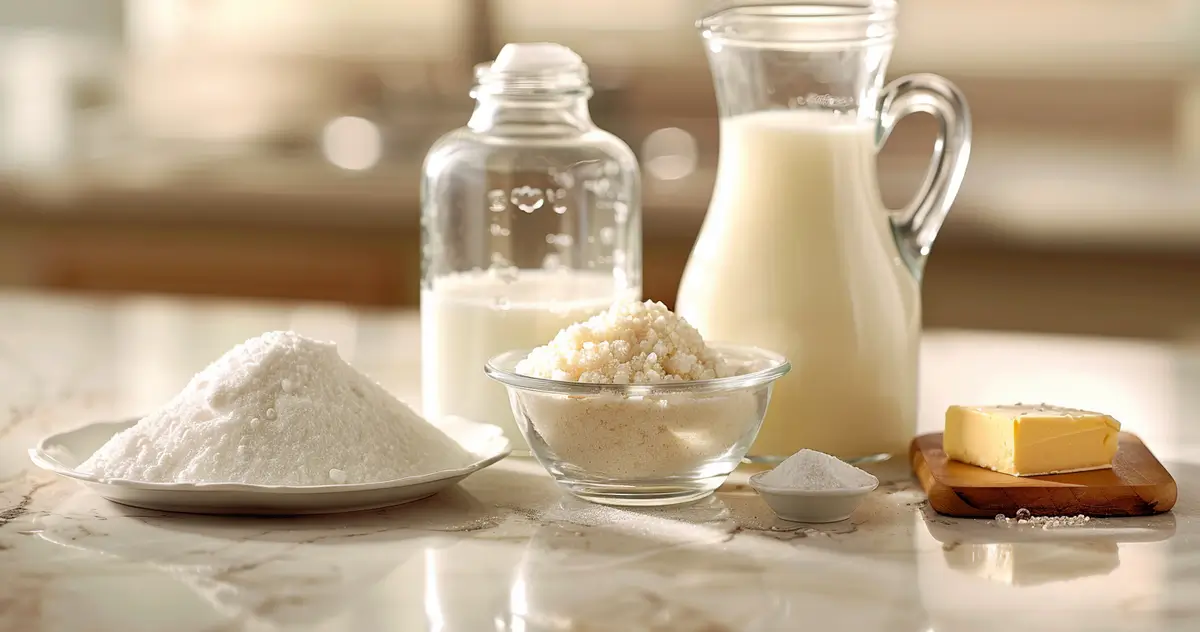
- Whole milk: For the richest result. Sub with almond/oat milk for dairy-free versions (though it changes the flavor slightly).
- Sugar: Gives it just the right amount of sweetness. Swap for a sugar-free sweetener like stevia to make it diabetic-friendly.
- Cornstarch: The thickener for that luscious pudding texture. Arrowroot powder works as a gluten-free substitution.
- Egg yolks: Enhance richness and help with thickening. Can be replaced with a vegan egg substitute if needed.
- Vanilla extract: Use good-quality pure vanilla; it’s the star! Vanilla bean paste or fresh seeds ramp up the flavor even more.
- Butter: Adds a silky finish. Consider plant-based butter for a dairy-free option.
How to Make the Recipe (Step-by-Step)
- In a medium saucepan, combine sugar, cornstarch, and a pinch of salt. Gradually whisk in the milk until smooth.
- Cook over medium heat, stirring constantly. Bring to a gentle boil, letting it bubble for 1-2 minutes to thicken.
- In a small bowl, lightly beat the egg yolks. Slowly drizzle a bit of the hot mixture into the yolks, whisking constantly to temper them.
- Return the yolk mixture to the saucepan and cook for another 2-3 minutes. Don’t stop stirring—it’s key for avoiding lumps!
- Remove from heat and stir in butter and vanilla extract. Stir until buttery smooth.
- Pour the pudding into serving cups (or a large bowl). Cover with plastic wrap, pressing it down to touch the surface and avoid a skin forming.
- Let it chill in the fridge for 2-3 hours before serving. Don’t rush this step—the chilling makes the texture perfection!
Expert Tips for Success
1. Use room temperature ingredients for smoother mixing. 2. Stir constantly so the mixture doesn’t stick or scorch. (Nobody wants burnt pudding.) 3. Want a deeper flavor? Use a scraped vanilla bean or paste instead of extract. 4. Chill completely to allow the pudding to set properly and thicken.
Variations and Customizations
This recipe is so adaptable! If you’re feeling adventurous, stir in a spoonful of peanut butter for a nutty twist or mix some melted chocolate for a chocolate-vanilla swirl. For a tropical vibe, add a splash of coconut extract and sprinkle some toasted coconut flakes on top. Looking for a fruitier take? Swirl in some strawberry or raspberry puree before chilling, and boom—you’ve got fruit-flavored pudding perfection!
Nutritional Information
With around 150-200 calories per serving, this Homemade Vanilla Pudding fits snugly into a sweet treat category without being over-indulgent. Each serving typically contains around 6g of fat, 20g of carbs, and 3g of protein. Plus, it’s naturally gluten-free (thanks to cornstarch as the thickener). If you’re watching your sugar, you can always substitute stevia or monk fruit sweetener to trim those carb counts. Dairy-free? Follow the suggested milk swaps, and you’re good to go!
Storage and Reheating Instructions
Got leftovers? Store them in an airtight container in the fridge for up to 3 days. If a pudding skin forms, just give it a good stir before serving. And while technically you can warm it up on low heat for a cozy dessert, it’s really best enjoyed chilled.
Recipe Card of Homemade Vanilla Pudding

Ingredients list
- 2 cups milk
- 0.5 cup white sugar
- 3 tablespoons cornstarch
- 0.25 teaspoon salt
- 1 teaspoon vanilla extract
- 1 tablespoon butter

Step-by-Step Instructions
- Gently warm the milk in a medium saucepan over medium heat until you see bubbles forming at the edges.
- In a small bowl, combine the sugar, cornstarch, and salt until well mixed.
- Gradually incorporate the sugar mixture into the hot milk, stirring persistently until it's thick enough to coat the back of a spoon.
- Take the saucepan off the heat and blend in the vanilla and butter, stirring until seamlessly combined.
- Distribute the pudding evenly between 5 dishes. For optimal taste and texture, let it cool in the refrigerator before savoring.
Recipe Video
Notes
Nutrition
All Your Questions About This Recipe
Can I make this recipe dairy-free?
Yes! You can substitute the whole milk with almond milk, oat milk, or another plant-based milk. Use dairy-free butter for the finish, and you’re set.
What’s the best way to avoid lumps?
Whisk constantly as the pudding cooks—this keeps everything smooth and silky and prevents clumps.
Can I use a sugar substitute?
Absolutely. Swap in sweeteners like stevia or monk fruit, but start small, as these can be sweeter than regular sugar.
How do I stop the pudding from forming a skin?
Press some plastic wrap right onto the pudding’s surface before chilling. This keeps the air out and prevents that dreaded skin.
Can I freeze homemade pudding?
Technically, yes, but freezing can affect the texture, making it grainy. It’s best to enjoy it fresh from the fridge within a few days.


This homemade vanilla pudding recipe looks so easy and comforting! I love how it’s ready in just 30 minutes with simple ingredients. I might add a sprinkle of cinnamon!